Tuesday, July 3, 2012
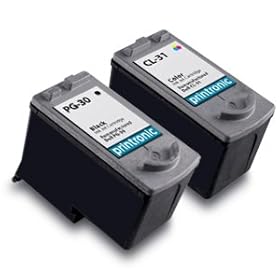
Filled a Canon Pg-31 Ink Cartridge
Advertisement:
 Cover your work surface with old newspapers or a drop cloth, and protect your hands with disposable gloves.
Remove the tape from the ink wells on the top of the expired cartridge with a box cutter or sharp knife. Drill into the small ink jet wells to widen entry using the drill provided in the refill kit.
Attach the provided needle to the ink injection syringe and insert into the magenta ink container. Draw 6 ml of ink into the syringe chamber.
Insert the needle into the magenta ink well; penetrate the sponge and stop. Do not puncture the bottom of the well with the needle; if you do, the ink cartridge will leak and must be discarded. Slowly inject the ink, stopping if the ink bubbles up to the top of the ink well.
Repeat Steps 3 and 4 for each color. The cyan color well is located on the bottom left side of the cartridge face, and the yellow color well is located on the bottom right side of the cartridge face.
Dab the cartridge with a paper towel or tissue to clean off any ink residue.
Apply a piece of tape across each of the ink wells to seal. Prick a tiny hole across the top of each well with a straight pin to vent.
Insert the cartridge into your printer, perform the clean utility and print as usual.
Related Posts : Canon
Labels:
Canon
Subscribe to:
Post Comments (Atom)
No comments:
Post a Comment
Note: Only a member of this blog may post a comment.